Development – Final Week
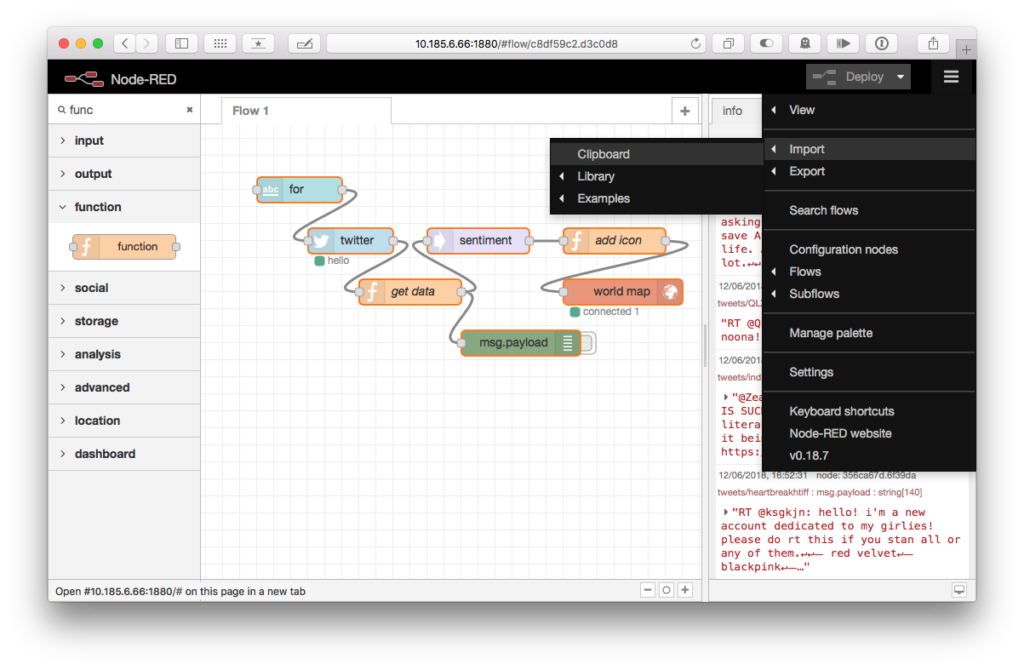
Most of the time spent this week was continuing development on the view page as well as fixing minor bugs with the search page. The Single Page Web Application (SPA) is now fully deployed on Heroku which allowed us to test the application on an iPad, which works perfectly.
More on D3 Zoom
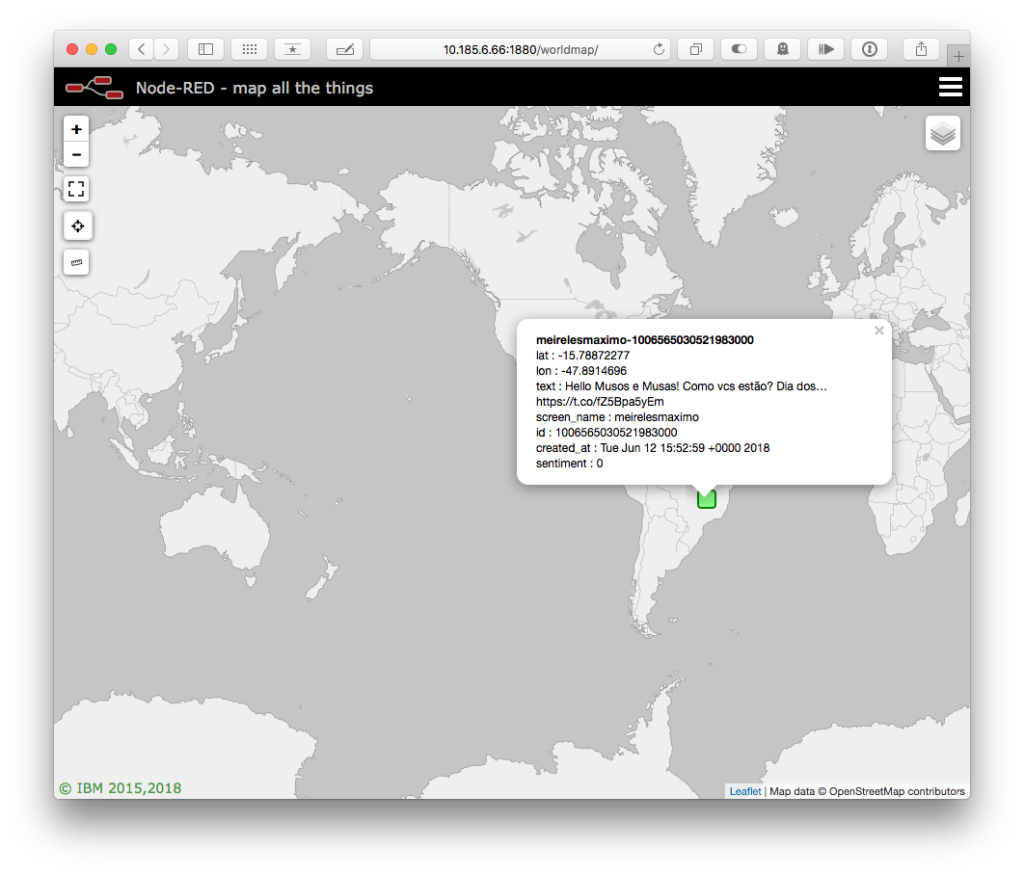
Last week time was spent implementing the visualization using D3. One of the main features of the visualization is the ability to pan and zoom to compare data features, this was fully implemented last week. This week I carried on developing the pan and zoom perfecting its functionality.
When using d3.zoom() for each zoom transformation d3 will return the current transformation. The transformation a contains 3 properties:
- transform.x translation amount along the x-axis,
- transform.y translation amount along the y-axis
- transform.k the scale factor.
D3 will calculate each new point for every element that is within the zoom selection, this causes problems when only one element needs to be zoomed. One solution is to only re-render the elements that need to be zoomed this is only a temporary solution if the user selects to zoom all elements all the previously none rendered elements will jump to the new position.
A better solution is to have two transition vectors one for the selected elements and one for the non-selected, this means that relative positions can be maintained.
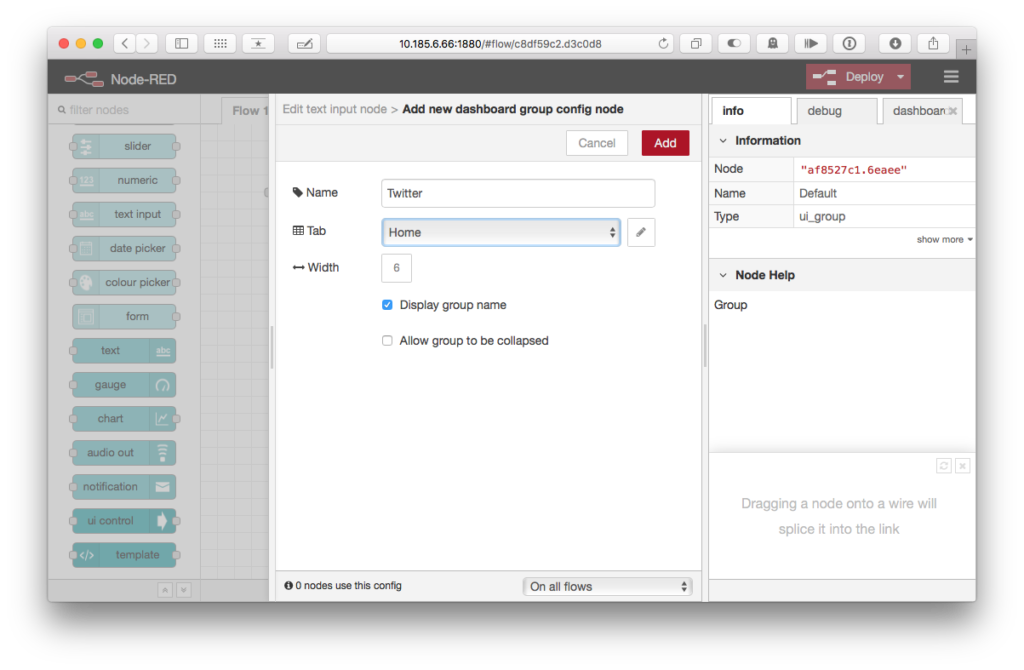
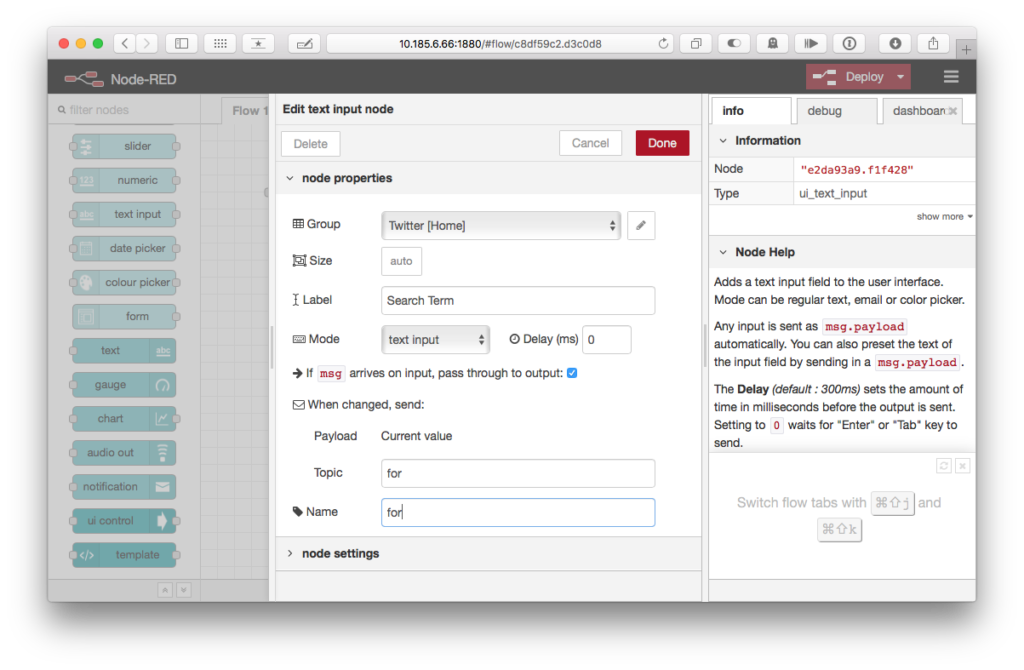
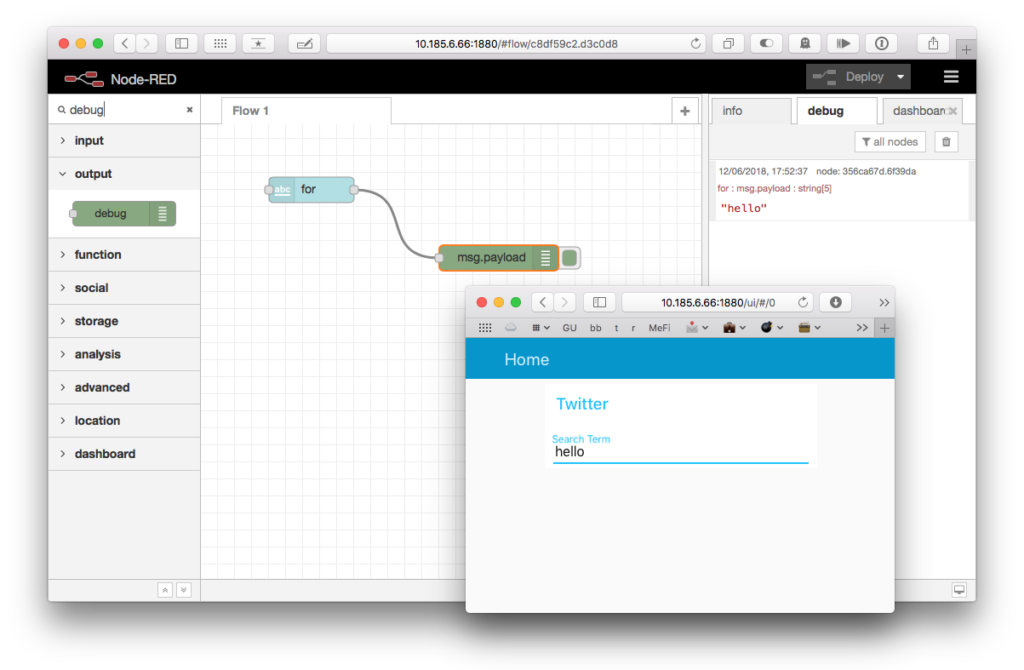
Setting up Heroku
Once the main aspects of the view page were complete, it felt like a good time to host the two APIs, database and Single Page Webb Application (SPA) on Heroku, allowing the client to test the search import and view processes for the first time.
Heroku is platform as a service (PaaS) which allows any developers to run application entirely in the cloud, supporting multiple languages.
Deploying to Heroku took a surprisingly long amount of time than expected, below I explain how to host an application on Heroku.
When a Heroku account has been created a new application can be set up. Heroku usually has two methods to perform actions either through the CLI (command line interface) or the dashboard (website). Before using the CLI first it must be downloaded, to CLI can be downloaded either via brew – Mac – or downloading a dedicated installer for your os.
Once the CLI has been successfully installed any type of an application can be set up. This time I will only be describing how to set up a Node application, but others follow a similar process. Within the local folder, containing your Git repository, run the command
heroku create [choose an application name]
this will create a git remote associated with the local git repository, called Heroku. If no application name is supplied Heroku will generate one randomly.
Finally, run the git push Heroku master command, this will automatically install all the necessary dependencies and deploy your application. Once an application has been deployed running the Heroku open command will open the website within the default web browser.
It is important to make sure that your git repo is set up correctly, Heroku will by default look with the root the repo for a package.json file which should contain all the needed dependencies and the startup script. Below is an example of a package.json file.
{
   "name": "Singe Page Webb Application",
   "version": "1.0.0",
   "description": "The back button is broken",
   "engine": {
       "node": "10.5.0"
  },
   "dependencies": {
   "angular-typeahead": "^1.0.2",
   "express": "^4.16.3",
   "path": "^0.12.7"
},
   "scripts": {
   "start": "node src/server.js"
}
}
If your package.json is not within the root of the repo this article explains how to configure heroku to look within a subdirectory. Heroku has mutiple articles for more more information on the initial setup of an application – take a look.
Environment Variables
Environment variables are used to describe aspects of a Node application. Unlike global environment variables, env variables are used for a specific node process usually defining port numbers or specific URLs. To add a new property to the env object, which is a property of the process object, each property can be appended before running the application.
PORT=8001 node app.js
Appending each env property before running the application can easily become cumbersome, a better solution is to create a dedicated env file. An env file contains a JSON object with each property an env variable.
Twilio has a great article on using environment variables in the node, describing the basics to alternative methods.
The two methods to set up environment variables on Heroku is either through the CLI or the Heroku dashboard. The first thing to mention is Heroku calls environment variables config vars, using the CLI the Heroku config command will list all the config vars. To add a new config var, use the Heroku config: set followed by a key-value pair, to remove a config var use Heroku config: unset followed by config key.
To modify the config vars from the dashboard navigate to the app’s setting tabs, under the config var selection config vars can be added, edited or deleted.
Accessing Heroku config vars from the Node application is exactly the same as accessing environment variables, for example, to get the app’s PORT config var with process.env.PORT.
When running the Heroku application locally to access config vars Heroku will automatically read an env file ‘each name/value pair is inserted into the environment, to mimic the action of config vars.’. The example below demonstrates how to copy a config var to the env file.
heroku config:get PORT -s >> .env
Reflection
This week is the last week of development – equally a sad but fulfilling one. Throughout the 9 weeks, 4 of them have been spent investigating and designing and the other 6 have been development.
I have learned a huge amount about how to take a concept and turn it into a fully working system, this was my first time designing a whole system using Trello to document the process and Pencil to wireframe each part. It was definitely hard to jump straight into the deep – but extremely enjoyable developing my understanding of how a small company operates as well as how easily a system can fail, and what to put in place to stop it.
I learned how to effectively communicate with clients – again my first time – it has been extremely gratifying showing them each phase of the process. For 9 weeks I have met with the client, for 10 minutes, nearly every day discussing the process and any changes needed. Especially within the fourth and fifth week of development a few extra features were requested. When a new feature is added I document a ‘change request’ and predict how long it will take to develop. Only then I can decide if there is enough time.
Programming every day has greatly improved my core Javascript and also my understanding of AngularJS. Throughout the development time I had to quickly learn new technologies; Swagger, AuthO and D3. Swagger was used to implement the two APIs, AuthO to implement the authentication process and D3 to visualise the time series data.
Conclusion
Overall the 6 weeks of development has been extremely rewarding especially seeing the visualisations fully working. Some of the elements of the SPA still need development which will push back debugging and testing by a couple of days but I am confident all the major bugs have been ironed out. After the two weeks of debugging the last week is left for handover and documentation.